Hoarding Cleanup Checklist: A Complete Step-by-Step Guide
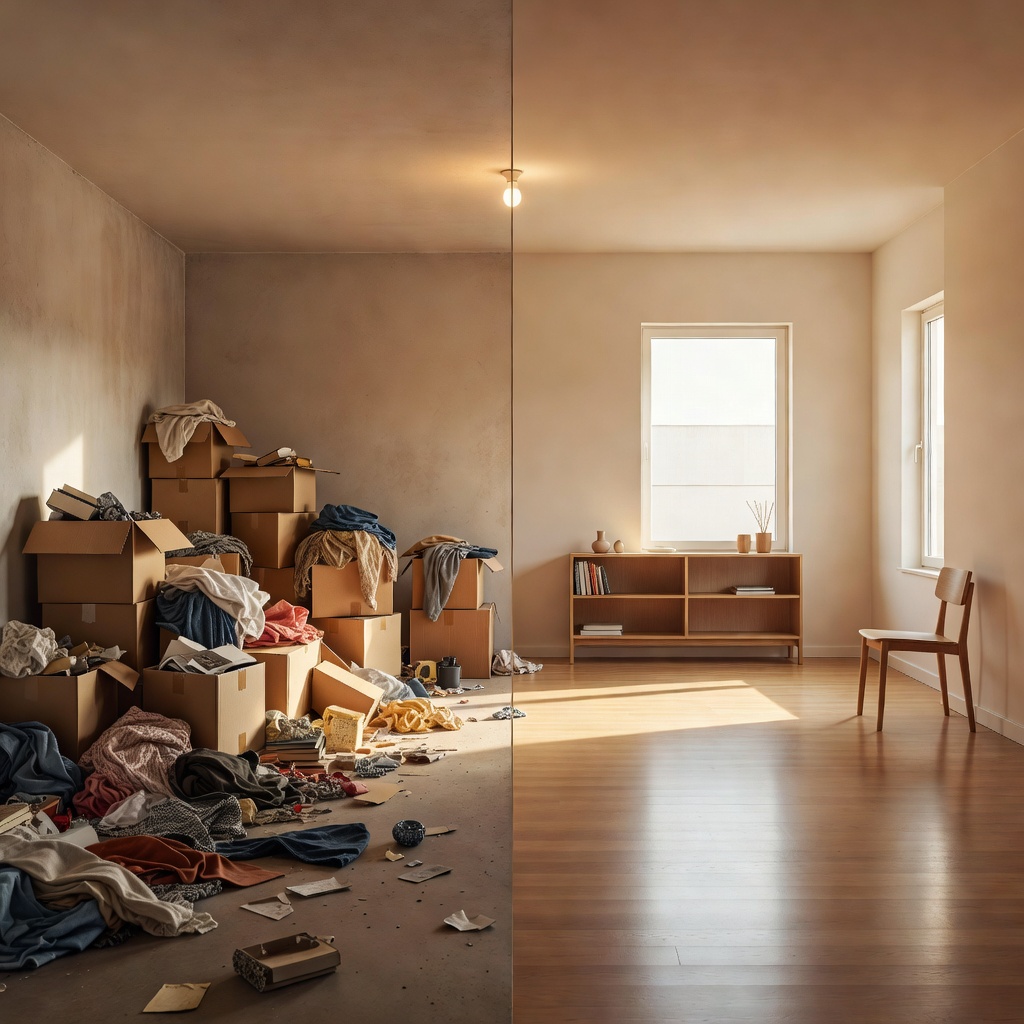
Knowing where to start is often the hardest part of cleaning a hoarded home. The sheer volume of items, the emotional weight of the situation, and the many tasks involved can make the whole process feel impossible before it even begins. That's why having a clear, structured checklist makes such a difference.
Whether you're helping a loved one, preparing a home you've inherited, or managing the situation yourself, this hoarding cleanup checklist will walk you through every stage of the process — from the first safety assessment to the final touches that make a home livable again. Bookmark this page, print it out, or share it with your family. Consider it your roadmap.
The Hoarding Cleanup Checklist
Below is a visual overview of the complete checklist — each step is covered in detail throughout the rest of this post.
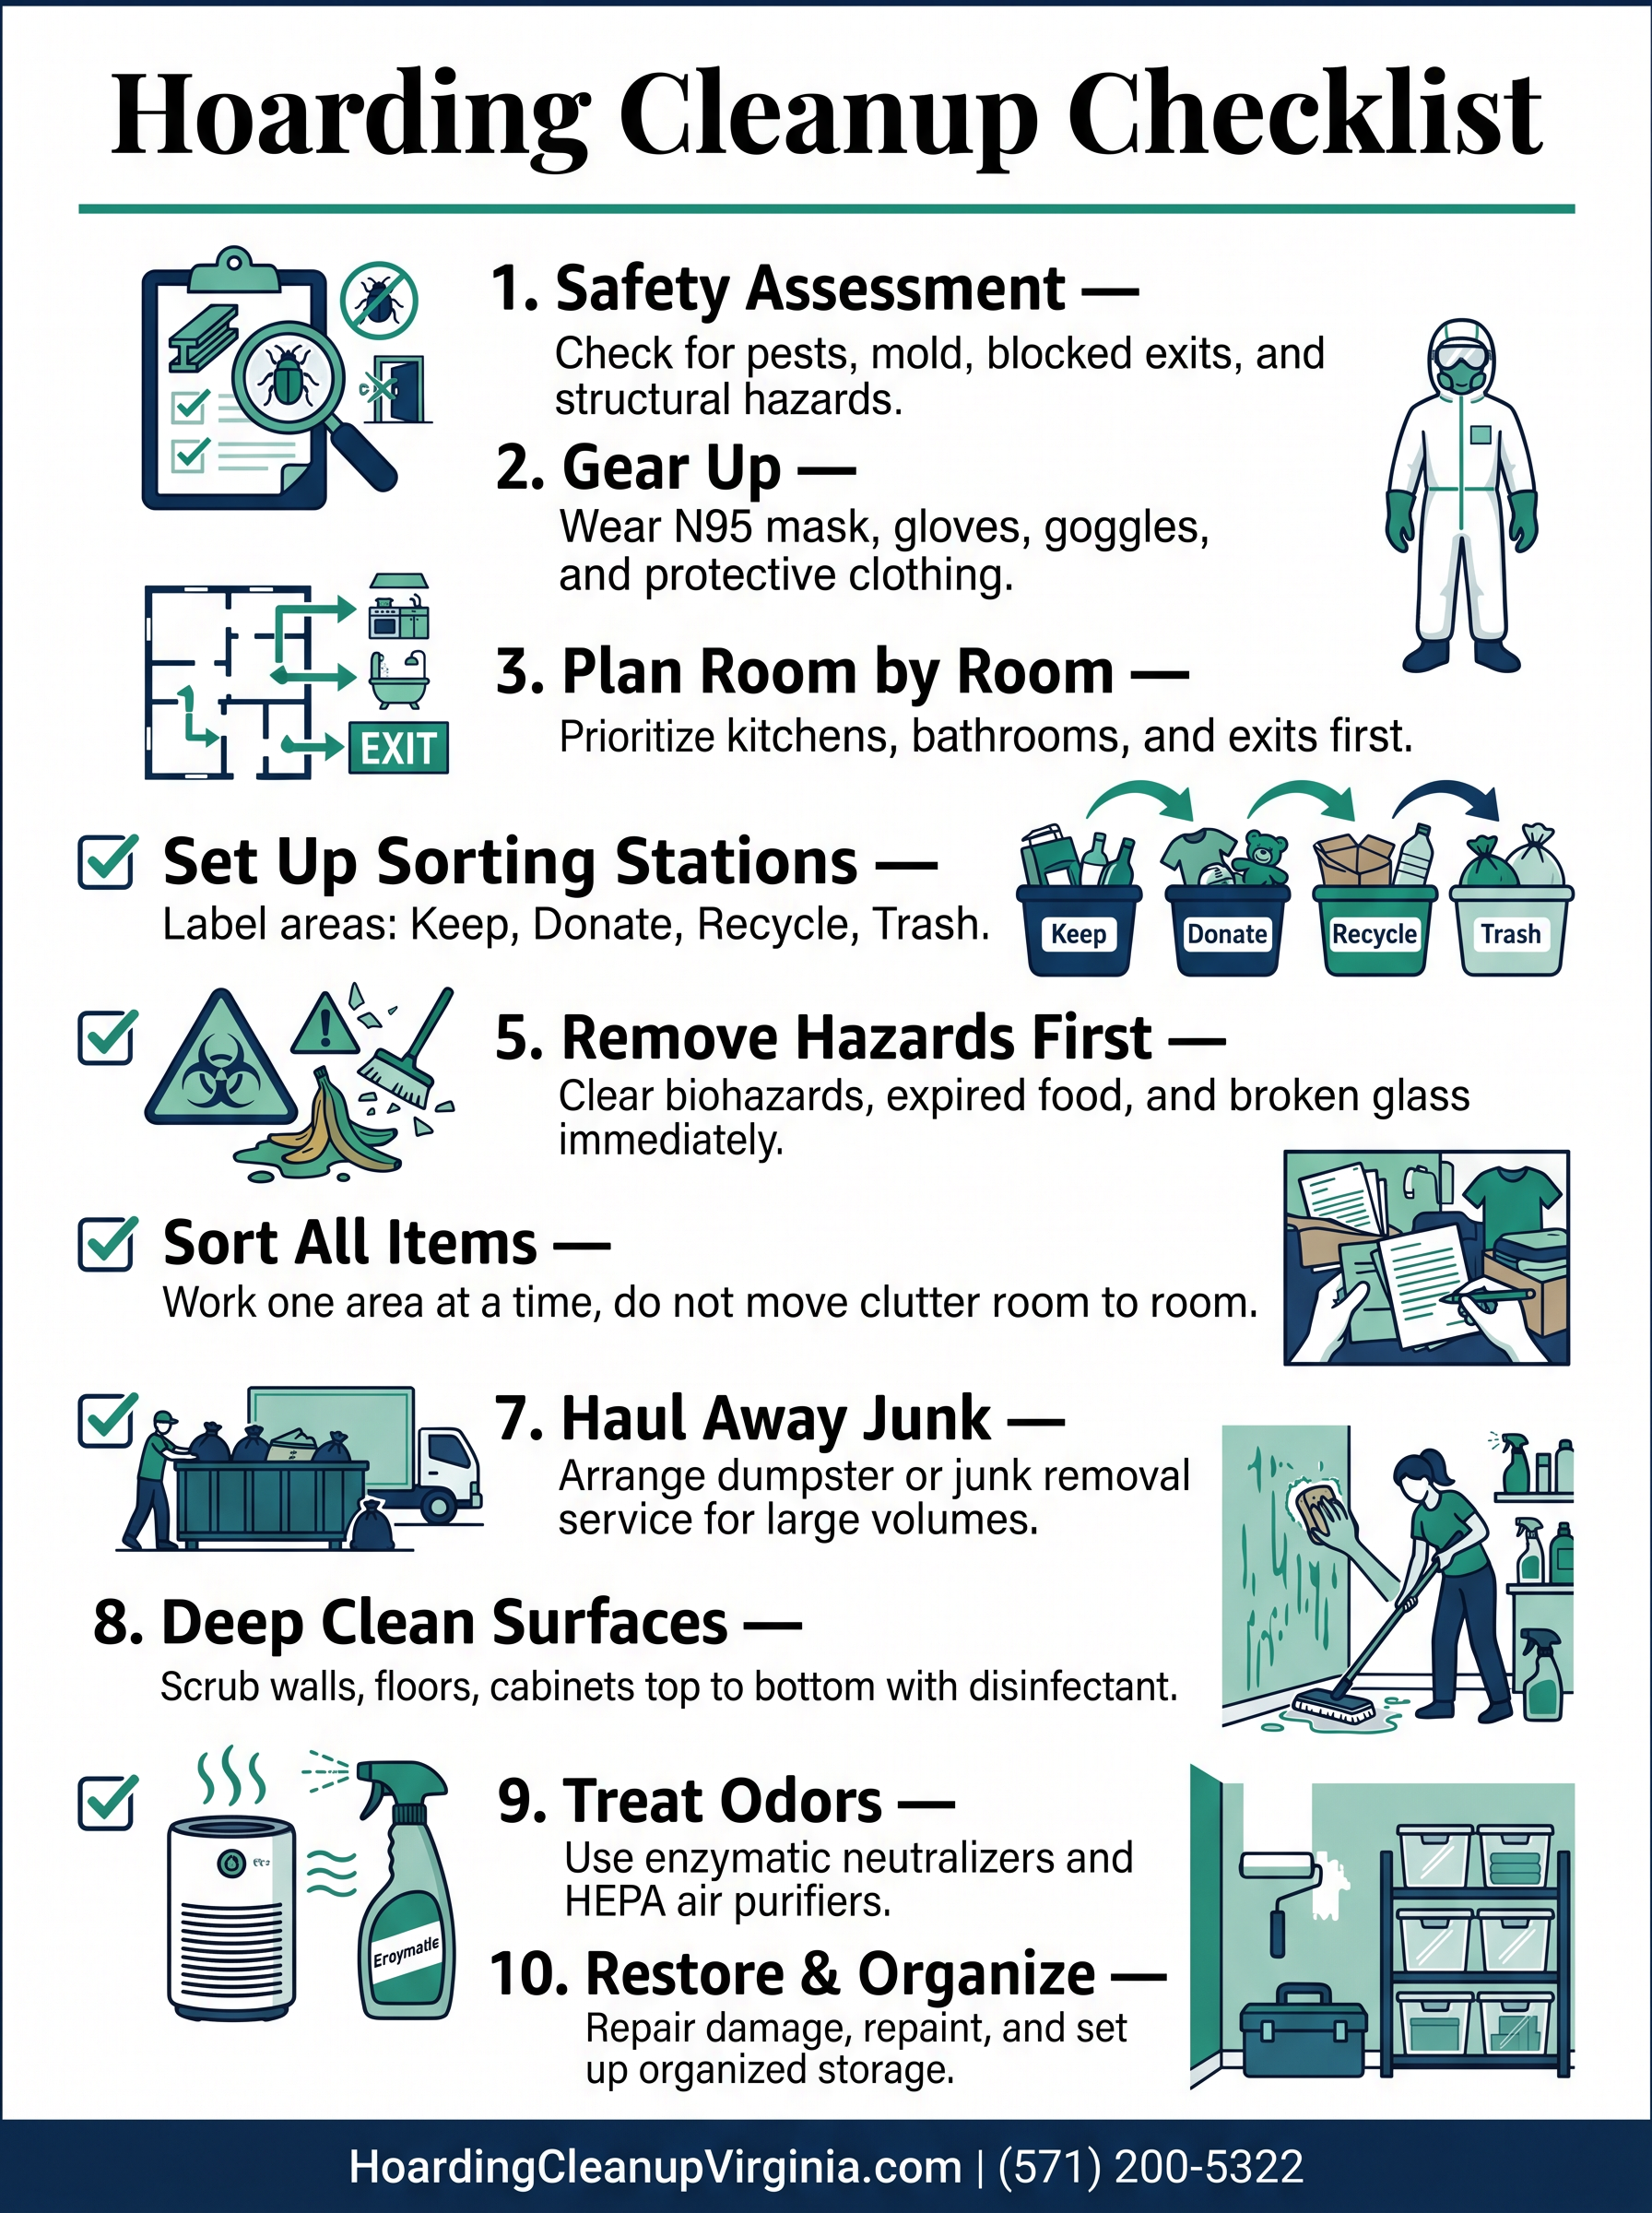
Save or share this checklist with anyone who needs it.
Step 1: Conduct a Full Safety Assessment
Before anyone sets foot inside to begin cleaning, the home must be assessed for hazards. A hoarded home can present dangers that aren't immediately visible, and working in an unsafe environment puts everyone at risk.
Check for:
- Signs of pest infestation (rodent droppings, cockroaches, nesting materials)
- Visible mold growth, water damage, or moisture staining
- Blocked exits and fire escape routes
- Unstable stacks of items that could topple
- Compromised flooring from weight or water damage
- Non-functional utilities (water, electricity, heat)
- Evidence of biohazard materials (human or animal waste, sharps, decomposing food)
If you identify active pest infestations, significant mold, or biohazard materials, stop and call a professional before proceeding. These are not safe to handle without proper equipment and training.
Step 2: Gear Up With Proper Protective Equipment
Never enter a hoarded home to begin cleanup without the right personal protective equipment (PPE). Even in homes without obvious hazards, the dust, mold spores, and poor air quality present real health risks.
Essential PPE includes:
- N95 or P100 respirator mask (not a basic dust mask)
- Nitrile or heavy-duty rubber gloves
- Safety goggles or protective glasses
- Disposable coveralls or old clothing you can wash immediately afterward
- Sturdy, closed-toe shoes or boots
Wear your PPE throughout the entire cleanup — not just when things look particularly dusty or dirty. Many hazards are not visible to the naked eye.
Step 3: Create a Room-by-Room Plan
Attempting to clean a hoarded home without a plan leads to chaos. Items get moved from room to room, progress is hard to measure, and the whole effort can feel like you're going in circles. Before you touch a single item, map out your approach.
Planning tips:
- Prioritize rooms that pose the greatest safety risk: kitchens, bathrooms, and primary exits first
- Identify which rooms are least affected and could serve as staging areas
- Break large rooms into smaller zones (e.g., left side of living room first, then right side)
- Estimate the number of days each room will require and build a realistic schedule
- Arrange for a dumpster rental or junk removal service before you begin — you'll fill it faster than you expect
Step 4: Set Up Sorting Stations
Sorting is the heart of the cleanup process, and having a clear system before you start saves enormous time and prevents good items from being accidentally discarded. Set up four clearly labeled areas — indoors or outdoors — before touching any items in the home.
Your four categories:
- Keep: Items the owner wants to retain in the home
- Donate: Clean, usable items that can be given to charity (clothing, furniture, kitchenware, books)
- Recycle: Paper, cardboard, metals, electronics, and glass that can be recycled
- Trash: Damaged, unsanitary, or truly worthless items for disposal
A fifth category worth keeping in mind: Valuables to Review. Important documents (wills, deeds, financial records, prescriptions), jewelry, cash, and family photos are frequently buried in hoarded homes. Set these aside in a secure location for careful review before any decisions are made.
Step 5: Remove Hazards and Biohazard Materials First
If any hazardous materials are present in the home, these must be removed before general sorting and cleaning begins. This includes:
- Expired or rotting food and organic material
- Human or animal waste
- Sharps (needles, broken glass) — use a sharps disposal container
- Chemicals, solvents, and old paint — check your county's hazardous waste disposal program
- Dead animals or animal remains
Biohazard cleanup requires specialized equipment, training, and in many cases, licensure. If biohazard materials are significant in volume, do not attempt to handle them yourself. A professional biohazard cleanup team can manage this safely and in compliance with Virginia regulations.
Step 6: Sort All Items Room by Room
With your system in place and hazards addressed, begin the sorting process. Work one defined area at a time — never move items into another room to "deal with later." That approach simply redistributes the problem.
Sorting best practices:
- Pick up each item individually and make a decision before setting it down
- Don't sort under time pressure — it leads to poor decisions and increased anxiety for everyone involved
- If the person who hoards is present, let them lead the sorting decisions and offer gentle support
- When in doubt, set items aside in a "pending" zone and revisit them at the end of the session
- Check pockets, bags, boxes, and envelopes before discarding — valuables hide everywhere
Step 7: Arrange Haul-Away for Trash and Donations
Once areas are sorted, it's time to remove the trash and donations. Don't let sorted bags and boxes sit in the home — they create new clutter and make it harder to stay motivated.
- Load trash into a rented dumpster or schedule a junk removal pickup
- Contact local Virginia charities that offer free pickup for furniture and larger donations (Habitat for Humanity ReStore, Salvation Army, and AMVETS are good options)
- Arrange electronics recycling for old TVs, computers, and appliances
- Take hazardous waste items to your county's designated drop-off facility
For large-scale cleanups, a professional junk removal team can handle heavy lifting, multiple loads, and proper disposal in a fraction of the time it would take to do it yourself.
Step 8: Deep Clean All Surfaces
With items cleared from a room, it's time for a thorough deep clean. Years of accumulated grime, dust, and contamination require more than standard household products. Work from the top of the room downward:
- Dust and wipe ceiling fans, light fixtures, and vents
- Wash walls and baseboards with a disinfectant solution
- Scrub inside all cabinets, drawers, and closets
- Clean windows inside and out
- Mop or scrub floors with a heavy-duty cleaner appropriate for the surface
- Disinfect all kitchen appliances inside and out, including behind the refrigerator and stove
- Scrub bathroom tile, grout, fixtures, and drains thoroughly
- Steam clean or replace carpet and padding if moisture or odors have penetrated deeply
Step 9: Treat Odors Thoroughly
Odor is one of the most persistent challenges in a hoarded home. Smells from decomposing materials, animal waste, mold, and years of closed-in air become embedded in walls, floors, and soft surfaces — and surface cleaning alone won't eliminate them.
Odor treatment checklist:
- Use an enzymatic odor neutralizer (not a masking spray) on affected surfaces
- Run a commercial-grade HEPA air purifier with activated carbon filter during and after cleanup
- Apply odor-blocking primer to walls before repainting — this seals in residual odors
- Replace carpet padding rather than just cleaning the carpet surface
- Use an ozone generator in empty, unoccupied rooms after cleanup — never while people or pets are present
- Leave windows open as much as possible to allow fresh air circulation
Step 10: Restore, Repair, and Organize
The final stage transforms a clean-but-bare space into a comfortable, functional home. This step is often the most rewarding — and the most important for the long-term wellbeing of the person living there.
- Assess and repair any structural damage (flooring, drywall, cabinetry)
- Repaint walls if needed to freshen the space and seal in any residual odors
- Replace any fixtures, appliances, or hardware that are beyond repair
- Set up organized, accessible storage systems that make it easy to maintain order
- Return "keep" items to their designated places in a thoughtful, organized way
- Consider working with a professional organizer who specializes in hoarding recovery for ongoing maintenance support
Signs This Job Needs Professional Help
Some hoarding cleanup situations are beyond what families can safely or realistically handle on their own. Call a professional hoarding cleanup team if:
- Biohazard materials are present in significant quantities
- There is active mold growth covering more than a small surface area
- Pests have spread throughout multiple areas of the home
- The volume of material is too large for family members to manage within the available time
- A landlord, housing authority, or court has issued a cleanup deadline
- The emotional toll of doing it yourselves is simply too great
There is no shame in asking for help. The right professional team will treat the home — and your family — with the dignity and care the situation deserves.
Ready to Get Started? We're Here to Help.
At Hoarding Cleanup Virginia, we've helped hundreds of families across Virginia work through exactly this checklist — and we know from experience that having the right team behind you makes all the difference. Our crew handles everything from sorting and hauling to deep cleaning and biohazard remediation, all with a compassionate, non-judgmental approach.
You don't have to tackle this alone. Learn more about our professional hoarding cleanup services, or call us anytime at (571) 200-5322 for a free, no-pressure consultation. We serve Northern Virginia, Fredericksburg, Richmond, Stafford, Woodbridge, Fairfax, and surrounding areas.